How to seal an RV roof? If you’re an RV enthusiast, then you know the importance of having a properly sealed roof. We’ll show you all the tips and tricks you need to know in order to keep your RV safe from leaks and water damage. So grab your tools and sealant, and let’s start sealing that roof.
Table of Contents
Sealing an RV Roof
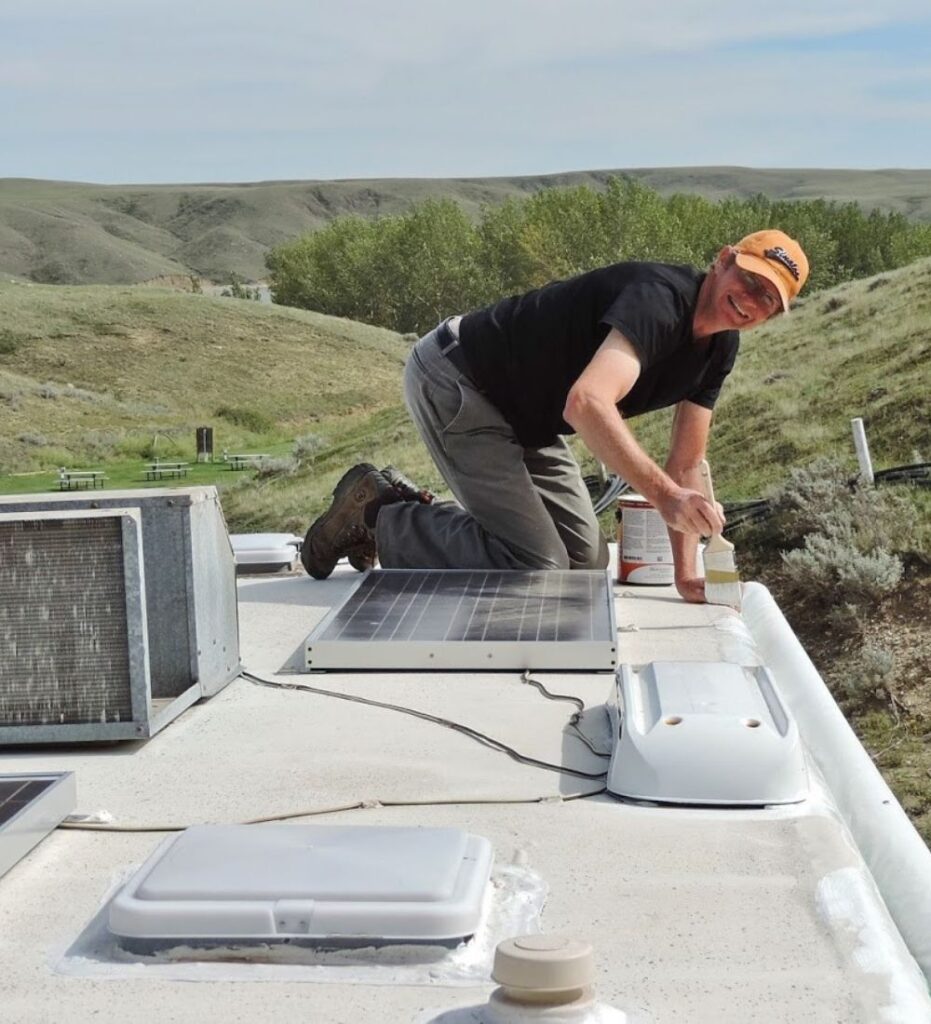
Sealing an RV roof is critical to safe, durable, and long-lasting RV ownership. By sealing and protecting your roof, you keep water out of your RV and extend the life of both the roof and the RV itself. To successfully protect your RV’s roof from water damage, you will need to use sealants specifically designed for long-term protection from moisture.
The process can be divided into two parts: first, apply a primer; second, apply a sealant. Before beginning the process of sealing your RV’s roof, it’s important to take some steps to ensure that you get optimal results. First and foremost, thoroughly clean the surface of your RV’s roof in order to remove any dirt or mold that could interfere with adhesion.
For metal roofs, use a dish soap solution or vinegar solution with no bleach component; for fiberglass roofs, use only mild soap and water solutions; never use abrasives or power washing on either type of roof in order to preserve its integrity.
When all surfaces have been cleaned safely and completely dry, it’s time to begin the sealing process:
- Primer: Apply one gallon per every 100 square feet being sealed; wait 24 hours for complete cure (majority for all primers).
- Sealant: Varying by product (check instructions), usually requires overnight set time before applying additional layers.
- Additional Layers: If needed after following instructions – it may require additional curing time.
- When finished with daily applications, wait 7 days before exposing the new sealant layer to sustained rain/water events.
- To test success – monitor the area in question during rains/water events over 12 months while the vehicle is stationary & while traveling – if needed, re-adjust as necessary.
Preparing the RV Roof
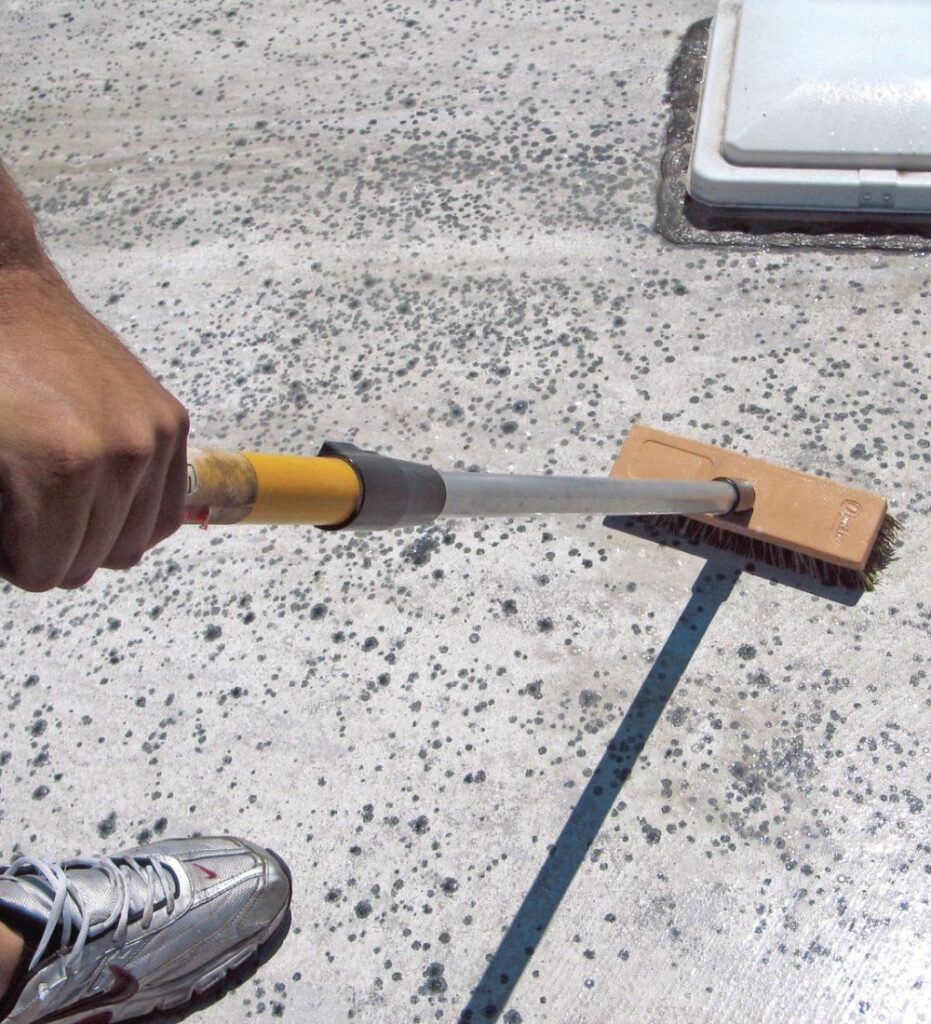
Before sealing an RV roof, you will need to make sure the roof is clean and free of any dirt, debris, and contaminants. Follow the steps below to clean your RV roof properly:
1. Begin by removing any large debris, such as leaves, sticks, or branches, from the roof using a leaf blower or other tool.
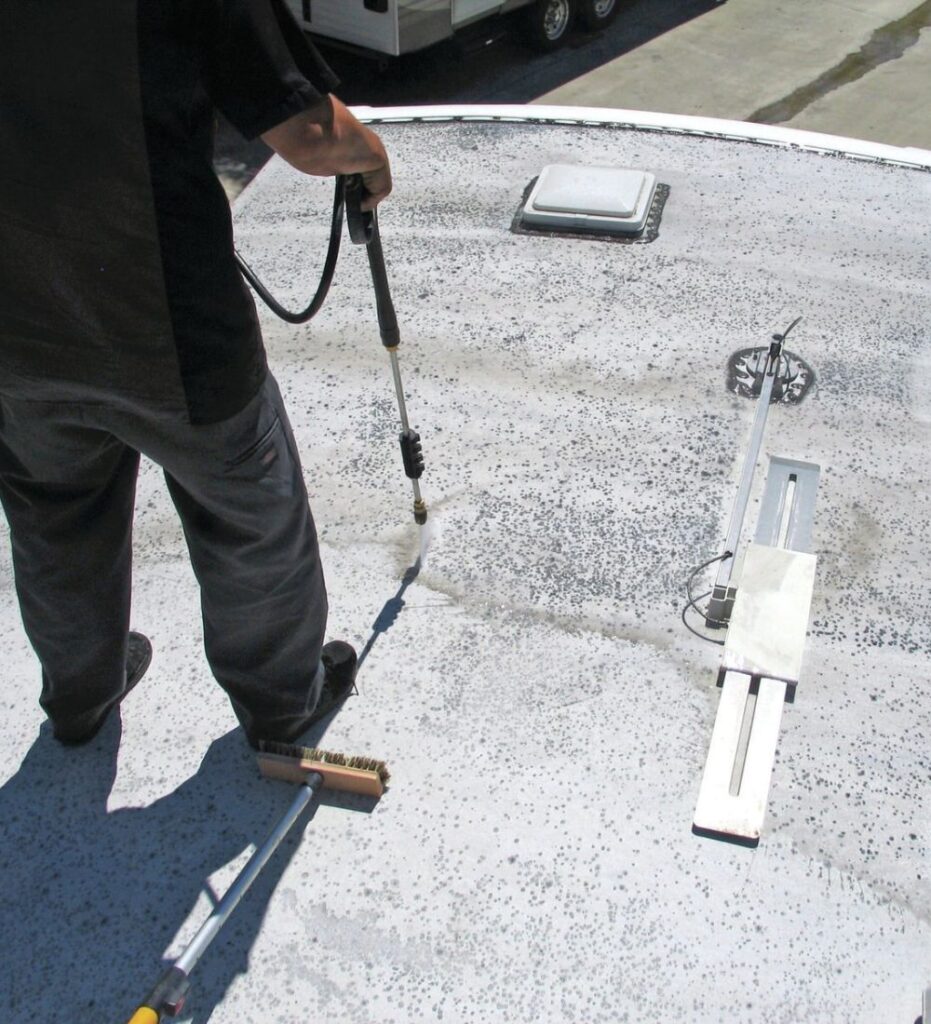
2. After that, use a pressure washer with medium pressure to rinse off the roof. Make sure to use only a little pressure to avoid causing damage to the roof itself.
3. Apply a dedicated RV cleaner that is specifically designed for cleaning RV roofs following the instructions on the product label. Let it sit for 10-15 minutes per instructions before rinsing off with a pressure washer on low setting
4. Allow the area where you are going to be applying sealant/coating to completely dry out before starting work on it— this may take several hours or overnight, depending on climate/weather conditions. If in doubt, try checking with a moisture meter device if available. If it shows moisture present, wait and start again when it’s been dry for at least 24 hours in ideal conditions or longer, depending on prevailing temperature/humidity & weather conditions, before proceeding further.
Prepping the Sealing Compound
Before you begin the process of sealing your RV roof with a compound, it’s essential to prepare the area properly. The surface should be clean and free of dirt and any other debris that could get in the way of proper adhesion. Use a mild soap and cloth or brush to remove any contaminants from the surface. Then, let it dry before you apply the sealant.
To get maximum adhesion, sand down any seams or joints on the roof and remove any signs of oxidation. Ensure all is smooth and even before continuing to the next step. You should also apply painter’s tape around the edges if you want protection against any spills or drips during sealant application. Finally, prep a few soft bristles brushes for application, as they will provide better coverage compared to foam pads or rollers during the spread-out process.
Applying the Compound
Applying the compound is the most important step in sealing your RV roof. All surfaces should be clean and dry before applying the sealant. Make sure to follow all instructions provided by the manufacturer for the proper application of the sealant.
Start in one corner of the roof and work your way across in a continuous motion, making sure not to leave any gaps or voids when filling them. For best results, use a paintbrush or paint roller to smooth out any imperfections or waves in the sealant as you go. Allow each section of sealant time to cure before adding more as necessary. Start and end at a pre-cut corner piece of flashing to provide maximum protection against water leaks over time.
Once you have sealed all areas around vents, air conditioners, antennae, and any other openings on your RV’s roof, make sure to check back once per year for maintenance and touch up any areas where the sealant is missing or worn away from weathering exposure. This guide should help ensure that you get a great seal on your RV Roof that should keep you safe from water leaks for a long time!
Finishing Touches
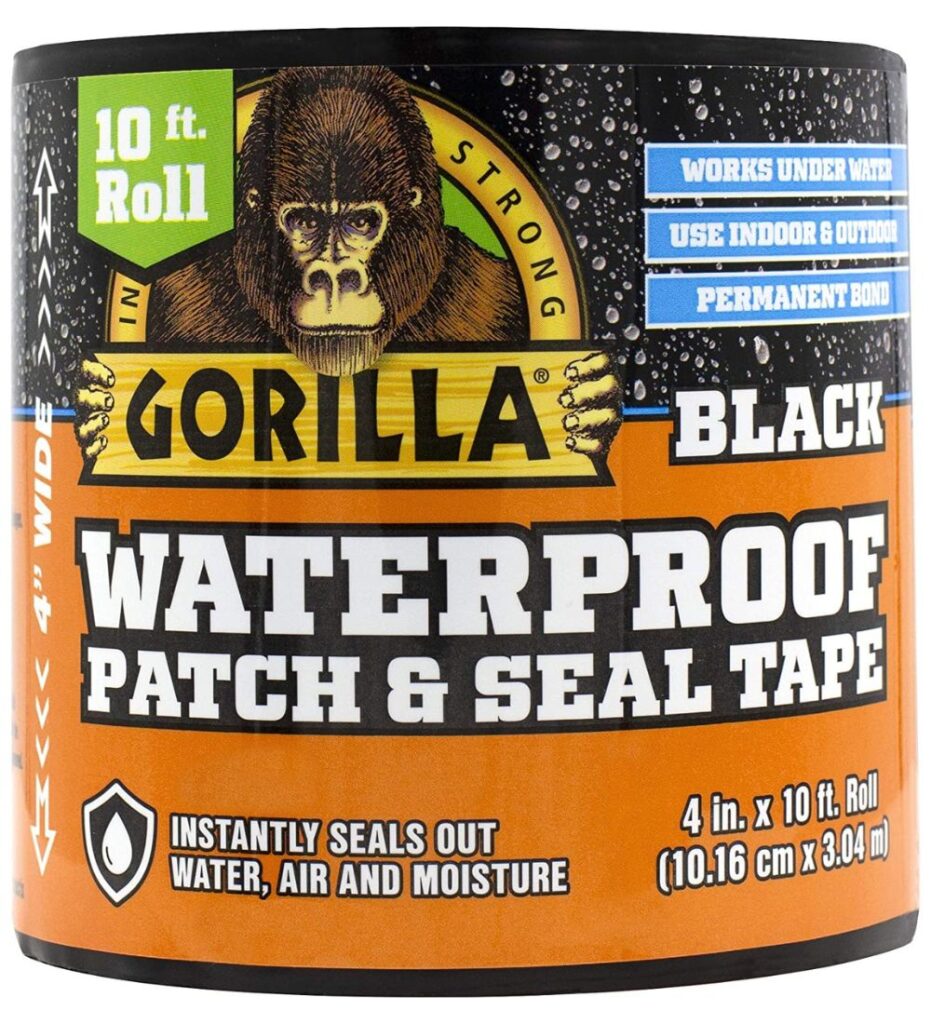
When you’ve finished sealing the roof of the RV, it’s time to move on to the finishing touches. It’s essential to clear up any excess sealant, check for any gaps or cracks, and ensure that all areas are secure and air-tight. This can be done by using a caulking gun to apply an additional coat of sealant or by using adhesive tape around trouble spots as needed.
Once you’re finished applying the finishing touches, give your RV a final once-over to ensure all areas have been securely sealed. Allow the sealant or adhesive tape to dry completely before proceeding with further maintenance. Additionally, inspect the roof periodically for any signs of wear or damage throughout the year and perform repairs as needed. Doing so ensures your RV is well-going and prepared for your next outdoor adventure!
Cleanup and Maintenance
After your RV roof is sealed, there are some crucial steps to ensure the sealant’s integrity. Be sure to clean up and maintain your RV roof after applying the sealant. Restrain a long-term sealant deterioration, and it must be properly maintained each season.
Cleanup: After you finish sealing your RV roof, a thorough inspection of the area should be done. This will help you identify any areas which may need to be included or where more applications might be needed. Clean up any excess sealant applied and remove any dirt or debris that may have mixed with it. Special cleaning solvents are available, but plain soap and water also work well for cleaning.
Maintenance: It’s always important that one check their RV roof periodically for signs of cracking or dryness in the sealant job that has been done earlier. If any cracks appear, this can lead to moisture buildup and early wear and tear on the top portion of your vehicle–something you don’t want! Regularly inspect all corners and crevices around fixtures, such as vents or windows, for potential problems before they arise!
Types of Roofs and Sealing Materials
Sealing an RV roof not only enhances its durability but also helps to prevent leaks from occurring. When choosing the materials for sealing your roof, it is important to consider what kind of surface you are sealing and whether a specific type of material is best suited for that surface. With the various types of roofs available on RVs, several types of materials can be used to ensure the RV roof is properly sealed and protected.
Metal Roofs: If you have a metal RV roof, tar or asphalt-based coatings are typically used as they provide superior protection against water intrusion. These coatings should also come paired with a separate membrane or fabric cover that can be applied directly to the metal roofing system in order to ensure a completely waterproof seal.
Rubber Roofs: The most common type of material for sealing a rubber roof is an EPDM coating, which is an elastomeric compound designed specifically for rubber roofs. It allows the user to apply and spread out their own sealant in order to get an even application when covering larger surfaces such as an RV’s rubber roof.
Fiberglass Roofs: Specialized sealants must be applied to protect from water intrusion on fiberglass roofs. These sealants are typically formulated with an acrylic latex base and provide superior protection against UV rays, ensuring your fiberglass stays flexible instead of becoming brittle over time due to sun exposure.
Foam Roofs: As foam roofs require specialized care when being applied and resealed, special polyurethane foam-based adhesives are often used in order to prevent any shrinking or bubbling over time when exposed to changing weather conditions or various chemicals in the air. A two-part expansion joint sealant should also be applied along all seams between real boards in order to add extra protection from potential water leakage over time due to reducible expansion joints caused by the movement of the RV during travel over terrain or roadways.
Troubleshooting Common Issues
When it comes to troubleshooting common issues with an RV roof, it is important to identify the source of the problem and take corrective action. In some cases, sealing a roof may be all that is required; in others, more serious repairs may be needed. In any case, having a basic knowledge of how to seal an RV roof can save time and money while keeping you safe on the road.
Common issues that may require sealing include cracked or split seams around the edges of the roof material and leaks around antennas, air conditioners, vents, and other fittings. If water accumulates near these items, even without obvious damage to the rooftop material, it may indicate that more extensive repair work is needed.
Suppose you attempt a DIY sealant application job instead of contacting a professional for assistance repairing your RV’s roof sealant. In that case, there are some important tips to consider before starting. Using an appropriate sealant product designed for use with your specific type of rooftop material is key – confirm that any caulk used contains chemicals resistant to UV deterioration and weathering.
Clean the existing surface thoroughly with warm soapy water before applying your new sealant layer to adhere properly. Follow the label directions carefully both when mixing and applying the new caulk layer – making sure not to exceed recommended application widths or layers; if you’re planning on painting the overtop of your finished product, allow adequate drying times as well before beginning additional steps.
Best seal for RV Roof
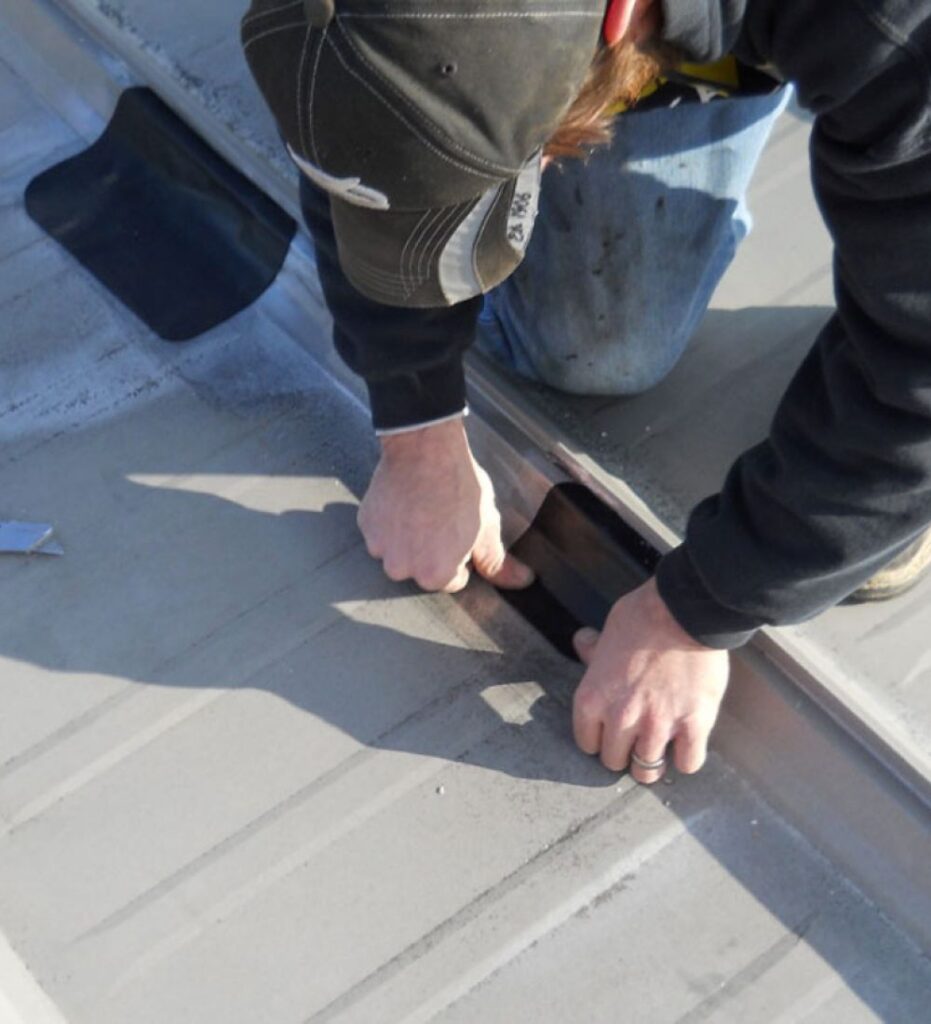
When you’re looking to keep your RV roof sealed, various options are available. Your choice will depend on the type of roof material and whether or not you want to take a DIY approach or use a professional. Several different roof sealers are available, each with its advantages and disadvantages. Below is a breakdown of the various products and the best one for your RV roof:
Acrylic sealer: This form of sealer is designed specifically for fiberglass-reinforced plastic (FRP) roofs and is easy to apply using a roller or brush. It dries quickly, forming an elastic coating that resists cracking or peeling due to weathering. It also requires minimal maintenance over time.
Silicone sealer: This type of sealer is best for RV roofs made out of aluminum, steel, and other metals as it provides superior waterproof protection that can handle temperature fluctuations without losing its sealing qualities. It is also non-corrosive, meaning it won’t react with metal and cause discoloration or rusting over time. Additionally, it doesn’t require any maintenance while providing years of durable protection from water tightness issues.
Vulkem: Vulkem is a special urethane compound available in various colors that can be used both outdoors and indoors on wood, concrete, and asphalt tile roofs, as well as metal ones like those found on aluminum-sided RVs. It provides excellent adhesion properties while resisting extreme climates such as heat and cold weather, providing all-season protection from the elements. In addition, Vulkem offers great elongation capabilities, which will protect against mechanical stress over time caused by changing temperatures or movement in the structure underlying frame resulting in no cracks or splits in the seam seals.
Conclusion
Once you’re sure you have an air-tight seal on your RV roof, it’s important to continue inspecting the area for any signs of wear and tear. Make sure to check for discoloration, cracking, or any other possible signs of damage. If you see any potential issues, contact a professional.
Caring for a roof is essential for maintaining the aesthetic value of your RV and its structural integrity. Invest in a quality sealant and follow these steps to ensure that your roof remains waterproof and protected from the elements for years to come!

