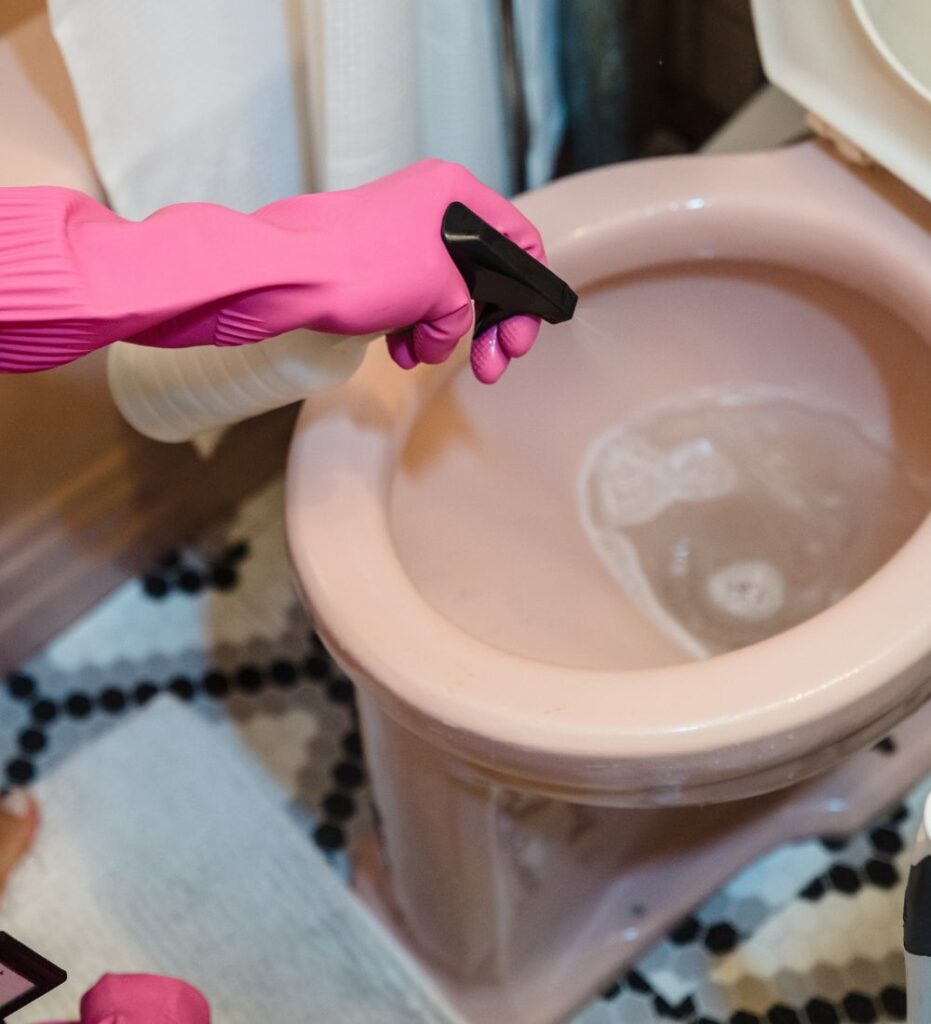
How to clean the RV toilet? Ah, the age-old question: How do you clean your RV toilet? Cleanliness is next to godliness, and it’s essential when dealing with an RV toilet. Don’t worry – we’ve got all the tips and tricks you need to ensure your RV toilet is sparkling clean! So please sit back, relax, and let’s get started on this odyssey of cleanliness.
Table of Contents
Why it’s essential to keep an RV toilet clean
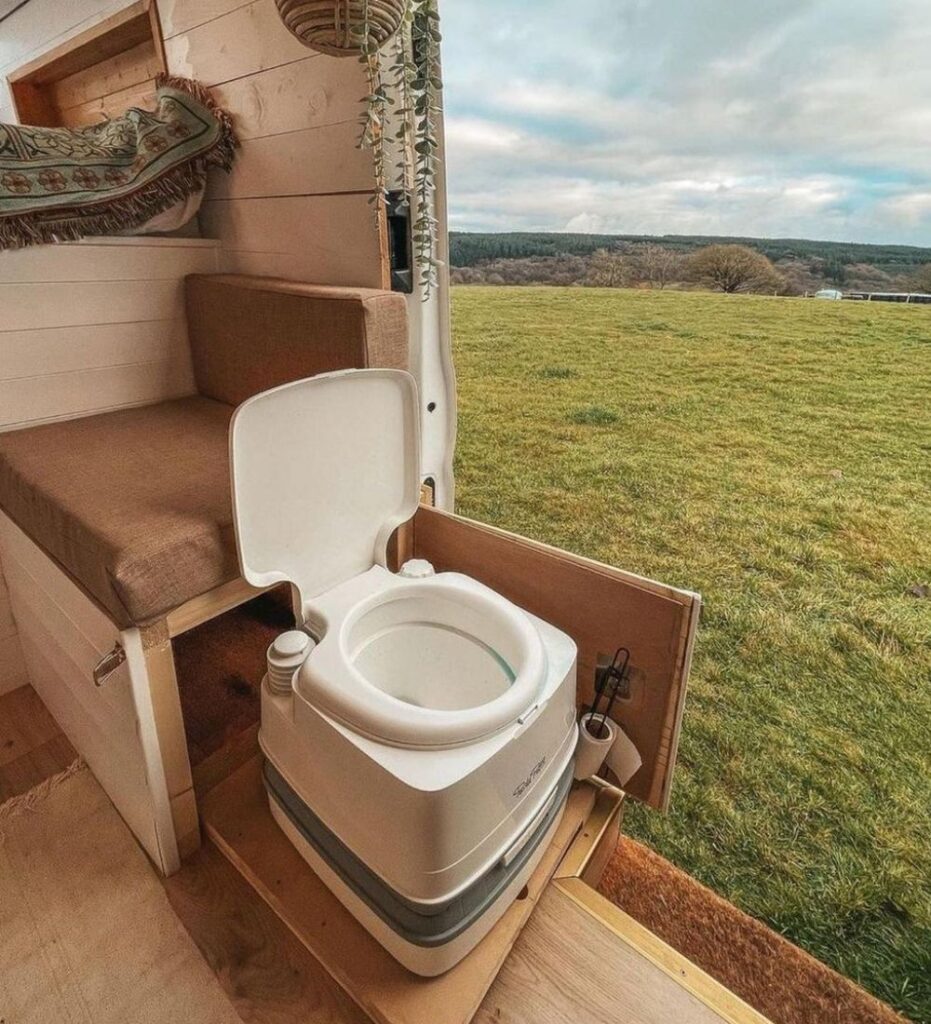
An RV toilet requires maintenance to keep it smelling fresh and working properly. One of the most critical aspects of cleaning and maintaining an RV toilet is regularly emptying its holding tank. It’s also essential to make sure you deep clean the bowl and other components of the RV toilet at least once a year with a non-corrosive cleanser specifically designed for this purpose. These steps will ensure your RV toilet stays clean and help prevent any unpleasant odors from developing.
Regularly clearing out the holding tank can help extend the life of your RV toilet by keeping debris, water, chemicals, and sewage from getting trapped in it, which can damage its internal parts over time. Additionally, vented tanks can be cleared thoroughly by completely disassembling them or using a specialty suction device or wand.
A deep clean can also help remove bacteria buildup that accumulates on interior surfaces such as walls and floors, fixtures, pipes, valves, seals, hoses, and fittings. Proper cleaning practices for an RV toilet include scrubbing it regularly with antimicrobial soap or bleach solution to kill germs and removing any debris or residue that may have accumulated in its holding tanks.
Finally, routine inspection should also be performed on an RV’s plumbing system to ensure everything is working correctly and spot-treat any affected areas with an appropriate product such as a sealant or lubricant. Taking the time to perform regular maintenance on your recreational vehicle’s plumbing system will ensure you have access to clean running water no matter where you travel!
What materials do you need?
When it comes to cleaning an RV toilet, the materials you need are typically simple and easy to get. Having the right materials is key to getting thorough and effectively clean, so you must check that all of your supplies are functioning properly before using them for maintenance or repair purposes.
Here is a list of the main materials that you will need in order to clean an RV toilet thoroughly:
- Showerhead – This will enable you to clean hard-to-reach areas with pinpoint accuracy.
- Scrub brush – A scrub brush with relatively stiff bristles is perfect for scrubbing out built-up grime and debris.
- Rubber gloves – Protect your hands from wastewater’s bacteria, germs, and caustic chemicals.
- Cleaning supplies – You’ll need an appropriate cleaning solution/detergent for your specific type of RV toilet (e.g., porcelain, china, stainless steel). An acidic cleanser such as vinegar or lemon juice can also be effective at removing stubborn stains.
- Bleach or sanitizing tablets will help remove bacteria and any lingering odors.
- Safety goggles – Protect your eyes from splashing water or cleaning agents while working on the toilet bowl interior surface.
- Rags/sponges/paper towels – For wiping down surfaces and soaking up liquid spills as needed during cleaning/maintenance tasks.
Step-by-step instructions
Proper cleaning of your Recreational Vehicle (RV) toilet can help you maintain a healthy, sanitary environment and ensure your bathroom is always smelling fresh. Follow these step-by-step instructions to ensure your RV’s toilet is sparkly clean!
1. Start by gathering all the materials you will need for the job: a bucket, RV toilet cleaner, rubber gloves, a scrub brush or sponge with a handle, a bowl or mug for stirring the cleaner, and a water hose.
2. Put on your rubber gloves and pour out the entire bottle of cleaner into the bucket. Make sure you dispose of any excess cleaner responsibly in order to protect your environment.
3. Add warm water to the solution until it reaches at least halfway up to the bucket’s rim – this will ensure that it’s effective as you scrub away any dirt or grime from surfaces in and around your toilet.
4. Dip your scrubbing brush or sponge into the solution, then use it to vigorously scrub down all surfaces in and around your toilet bowl – paying extra attention to tough spots like under lids or hinges where debris tends to accumulate over time.
5. Once everything looks shiny and clean, spray off all surfaces with clean water from your water hose until no residue remains. It will help rinse any leftover cleaning solutions that could create an unpleasant smell later on down the line if not washed away completely now!
6 Lastly, remember to dry off all surfaces with towels or clothes before use – this will avoid unnecessary messes, which could lead back here again next time!
Common mistakes to avoid
Although cleaning an RV toilet is relatively easy, there are a few common mistakes to avoid when using cleaning supplies for your RV. Be sure not to use bleach or other corrosive cleaners on the inside of your toilet, as these products may damage the porcelain coating. Additionally, be very careful when adding chemicals to your black tank. It can be dangerous and even damaging to add too many chemicals at once, especially if they are not meant to be mixed together. When in doubt, consult the manufacturer’s instructions before adding any product to your black tank. Finally, never leave a wet rag inside the toilet bowl; this can cause bacteria and mold growth, leading to more frequent cleanings and unpleasant odors in your RV.
Troubleshooting tips
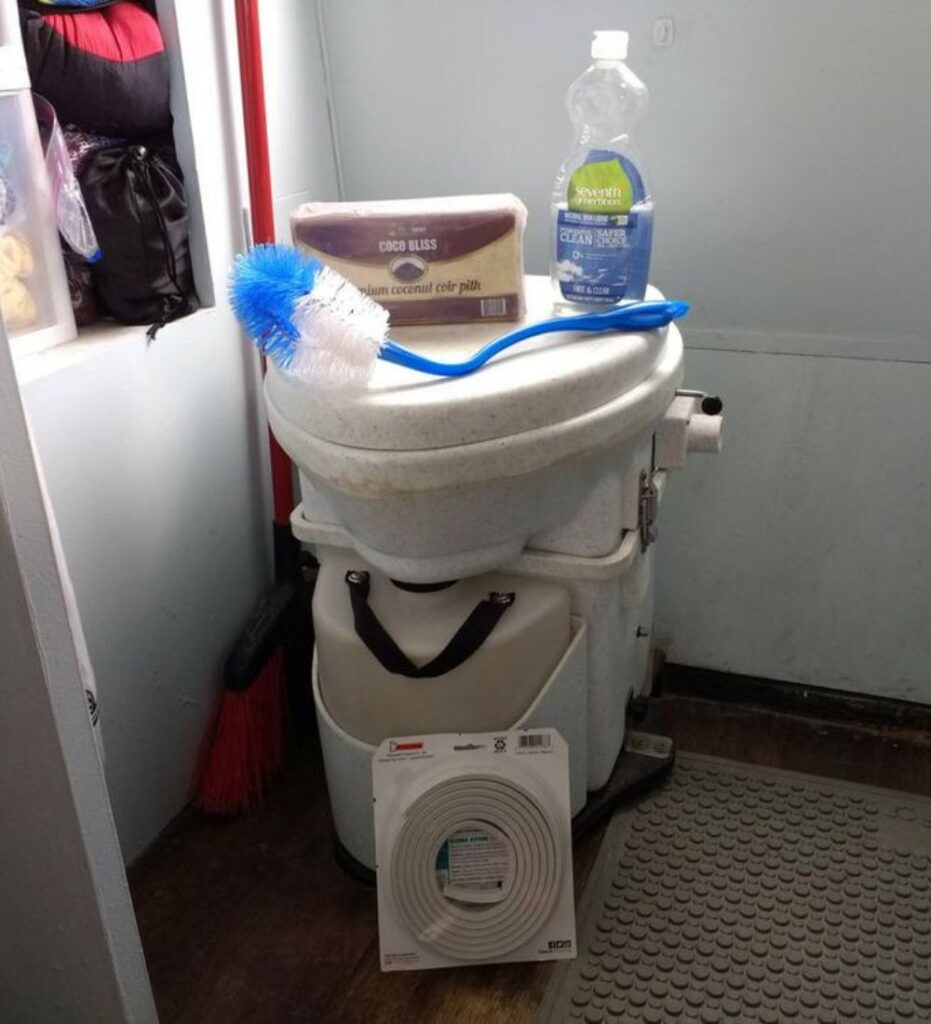
Regardless of size, an RV toilet must be regularly serviced to ensure a reliable and convenient operation. While cleaning an RV toilet can differ depending on what type it is (macerator, gravity dump, cassette toilet), some troubleshooting tips may help improve its overall performance.
1. Macerator Toilets:
If your macerator tank starts to fill beyond its standard capacity, it could indicate a problem with the impeller or valves. You may need to flush the system out before attempting to repair any parts.
2. Gravity Dump Toilets:
If you experience odor or water leakage in your RV toilet, it could be due to blockage in the pipes or a faulty valve seal between the holding tanks and bowl. Inspect your seals for any cracks or gaps and replace them when necessary. Check for blockages in your vent system by listening for air leaks from any joints and running a snake through all vent lines if needed.
3. Cassette Toilets:
Clean out any clogged screens on your cassette toilet’s waste outlet if you notice reduced flushing action or wastewater backing up into the bowl. Ensure all additional hoses are properly connected as well; leaks will occur if they become disconnected from their fittings during use. Lastly, ensure nothing has been flushed down the cassette toilet’s opening other than human waste and RV-safe toilet paper, as items such as tampons can cause clogging further down the line.
How to clean RV toilet tube
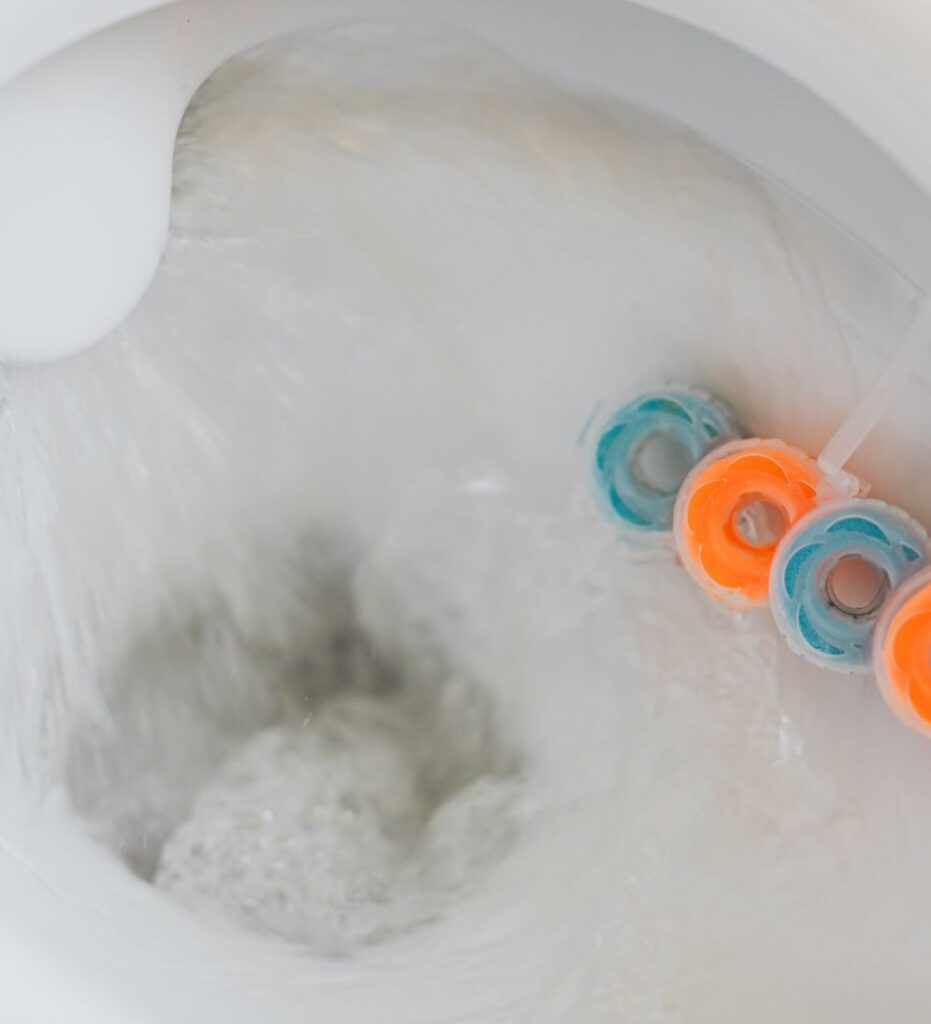
Cleaning the RV toilet tube periodically is essential for maintaining a healthy RV system. Cleaning the tubes of an RV toilet is not difficult, but it does take some preparation and hard work. Properly cleaning this area of your RV can help extend its life and ensure a more pleasant RV experience.
It’s a good idea to use rubber gloves when working with the toilet tube in order to protect yourself from potentially dangerous materials. Before you start cleaning, ensure you also have plenty of paper towels, an old toothbrush or brush, and a bucket close at hand.
The first step in cleaning is preparation: turn off the water so that nothing flows into or out of the tank while you work on it. The second step is brushing; use your old brush to scrub away all dirt, mildew, and other materials that have collected within the toilet tube over time. Rinse your brush often, as bacteria may pass into your bathing areas if not removed properly.
When all visible material has been removed, use an appropriate cleaner on any remaining stains inside the tube. Depending on what type of cleaner you’re using, you may need to let it sit for several minutes before wiping off with paper towels or rinsing it with water.
When finished, rinse thoroughly with clean water and make sure all traces of cleaner are gone before replacing any parts necessary and reconnecting any hoses or pipes leading from your tank area to other parts of your RV. Once everything is reconnected, please turn on the water again and flush it several times in order to ensure that no debris or cleaner remains inside your tank area before using it again as usual.
Can you use a regular toilet bowl cleaner in an RV toilet?
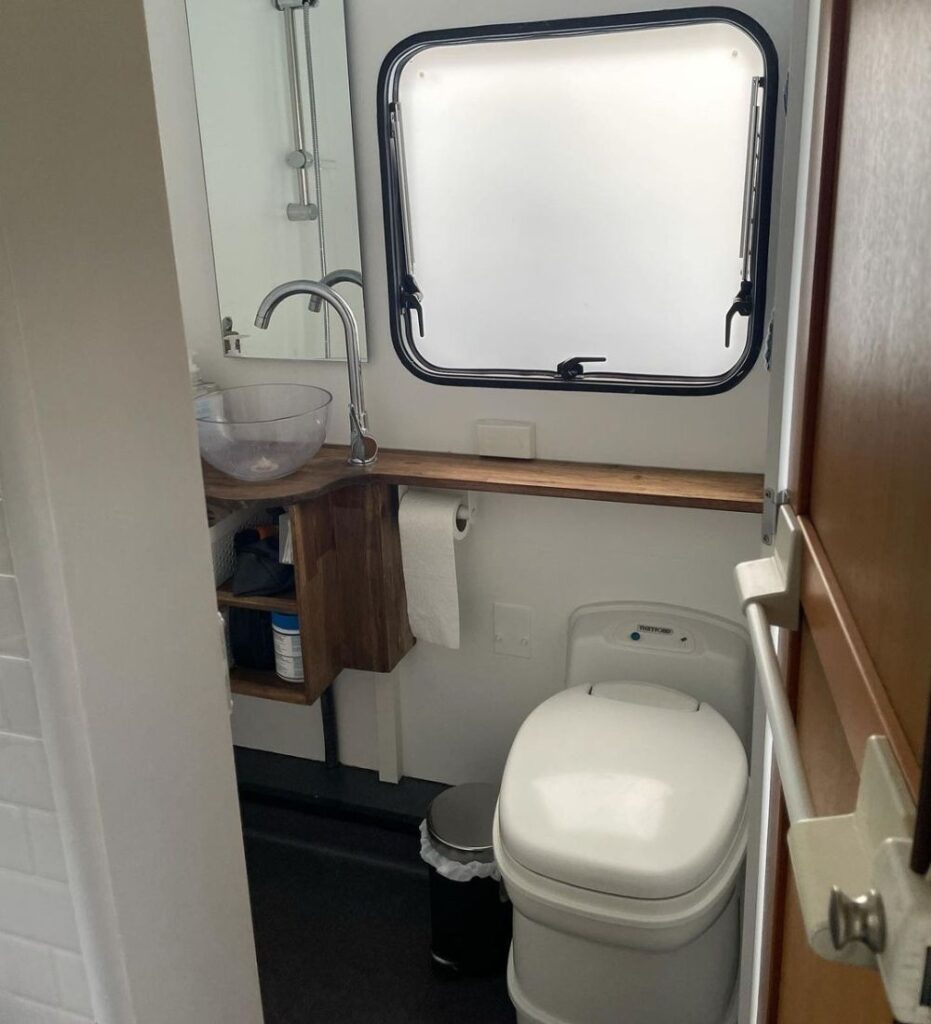
Regular toilet bowl cleaners are not typically suitable for use in a recreational vehicle (RV) toilet. These cleaners often contain bleach and other harsh chemicals that can damage RV plumbing systems and corrode the tank assembly’s tanks, valves, and parts. Additionally, specific brands of traditional toilet bowl cleaners are acidic and can harm the rubber seals that are commonly used in RV toilets.
Instead, there are a variety of specialized products that have been designed specifically for use in RV toilets. For example, Camco’s TST Toilet Bowl Cleaner helps to keep campers’ holding tanks clean and odor-free while being safe for the plumbing system. This cleaner removes mineral deposits and hard water stains while also inhibiting odors caused by organic material in freshwater systems.
In addition to choosing a specialized toilet cleaner, it is also important to regularly clean your RV’s waste-holding tank. This will help to keep unpleasant odors from bubbling up as well as help prevent clogs or buildup that could cause drain field problems or backups. Clear out any solids before flushing the tank with 1 cup of baking soda per 15 gallons of water; then add 2 gallons of water mixed with 1 cup chlorine bleach before allowing the solution to sit overnight in the tank; empty everything the following morning after flushing several times with plain water.
Do you need a special cleaner for the RV toilet?
No, you do not need a special cleaner for your RV toilet. However, it is important to use an appropriate cleaner for the job and ensure that the cleaner is safe for RV components like the toilet bowl, tank, and seal.
Common household cleaning products like baking soda and vinegar can be used safely to clean an RV toilet. These cleaners are non-abrasive and mild, making them perfect for cleaning most RV toilets. Baking soda dissolves food particles in the bowl as well as loosens any dirt that may be stuck on the sides of the toilet bowl. Vinegar is effective at killing bacteria and other germs in hard-to-reach places.
Some households may prefer to invest in commercial cleaning products specifically designed for RV toilets. These special cleaners can often provide a deeper clean or may come in handy when dealing with tough stains or unwanted odors in a recreational vehicle’s bathroom facilities. Other helpful items include toilet brushes to reach deeper areas of an RV’s walled tank and plumbers’ putty or silicone sealant, which help prevent leaks between tank surfaces or at connection points between pipes and other parts of the bathroom system.
RV Toilet Maintenance
RV toilets require periodic maintenance to keep them in optimal working condition. While the exact type of maintenance may vary depending on the kind of toilet in your RV, there are a few general steps that can help maintain your toilet and prevent unpleasant odors from building up.
First, cleaning the bowl of your RV toilet after each use is important. This can be done by flushing the toilet and then using a brush to scrub any remaining materials off the bowl’s walls. Next, use a cleaning solution or detergent to remove solid waste from around and under the edge of the bowl. Then flush again to clear off any dirt particles that may have been left behind in the process.
You should also make sure to empty your black water tank at regular intervals so that it does not become too full. To do this, use a sewer hose explicitly designed for RV toilet drainage and seal one end securely with a tank cover before attaching it to an appropriate drain or septic system outlet. Ensure that you only release wastewater into designated disposal sites as per local regulations; discharging gray or black water outside of approved areas is illegal and harmful to local ecosystems.
Finally, suppose you experience any persistent odors coming from your RV toilet system. In that case, consider using a holding tank odor control product that eliminates smells with special enzymes explicitly designed for RV toilet systems. When using such products, always follow the manufacturer’s instructions for safety and effectiveness in permanently removing odors from your holding tank.
Conclusion: summary of main points
In conclusion, maintaining your RV toilet is critical to your and your family’s health. Clean and sanitize the toilet regularly with a disinfectant like bleach or vinegar, use special liquids or treatments for deodorizing, and be mindful of proper maintenance techniques. With a bit of effort and vigilance, your RV toilet will remain hygienic and odor-free with regular cleaning. Regular inspections should also be performed to assess the bowl and seals for signs of mold or wear. Use proper cleaners, such as RV-specific powders or gels, in order to ensure a healthy sitting environment for all travelers in your recreational vehicle.


