How to clean RV fresh water tank? If you own an RV, you know how valuable clean and potable water is. Keeping the fresh water tank free from bacteria and other contaminants is a must to enjoy your road adventures. This blog post will discuss the best ways to clean your RV’s fresh water tank so you can enjoy a healthy and safe trip!
Table of Contents
Gather Materials Needed
Before beginning the cleaning process, gathering the right materials needed to clean your RV’s fresh water tank is essential. Make sure you have the following items on hand:
- A garden hose
- Chlorine bleach
- A bucket or large container
- Paper towels or rags
- A pair of rubber gloves (if you are sensitive to chlorine bleach)
- An air compressor or pressure washer (optional)
The above materials will flush out the tank and help ensure it is properly cleaned. Be sure to wear protective eyewear, a face mask, and rubber gloves when working with cleaning chemicals like chlorine bleach. It is important to protect yourself from potentially hazardous material that may be present in your tank. Additionally, make sure any tools you use are designed for use with an RV’s fresh water tank, as certain tools could damage the RV’s exterior surface.
Drain the Water Tank

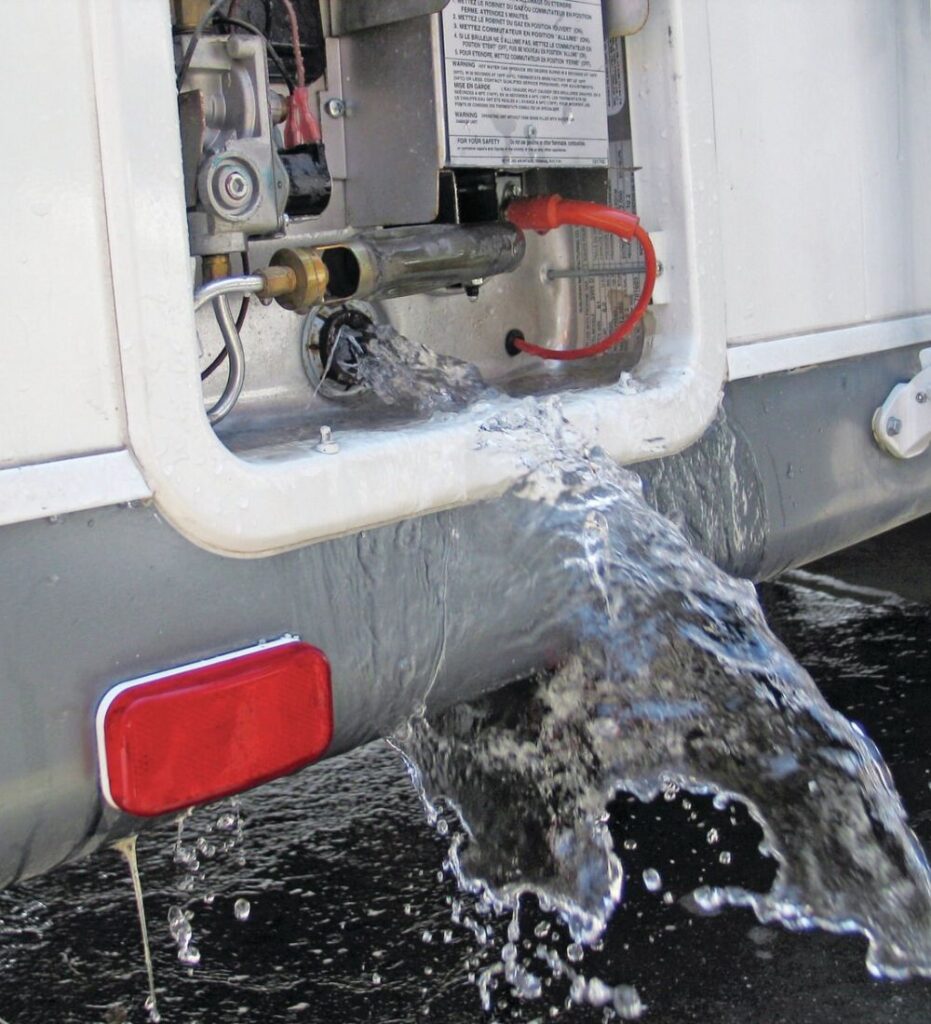
Draining your RV’s fresh water tank should be done regularly as part of your regular maintenance routine. Food particles and other debris can linger in the tank without proper cleaning, leading to bad tastes and odors. If this debris is left unchecked, it can ultimately cause damage to the interior surface of the tank. To ensure that your water is clean and safe for drinking, you will need to drain the fresh water tank and clean it properly.
Here’s how:
1. Close all the taps inside and outside your RV. This will ensure you get all the water out from each line as you drain your tank.
2. Locate your drain hose on top or side of your fresh water tank and connect a garden hose to it with a secure fit. Be sure to connect an end cap if no garden hose is connected so that you do not inadvertently back-flush air into your water lines and create damage from pressure surges once you turn everything back on after draining.
3. Make sure that you have placed a container underneath the fresh-water drain beforehand so that any residual water does not go directly onto the ground or in ways that could cause damage or pollution downstream.
4. Open up all full-flow drains such as faucets, shower drains, etc., even if they are indoors so that any sediment gets pushed out with greater force once pressure is released inside these tubes as well as throughout some other system parts like the pump heads and valves while also providing a good purge operation throughout these entire systems without ball valves being opened up manually at each location individually. This means opening all possible outlets until they look like they are pushing nothing more than the air out without misting or bubbling due to built-up pressure release throughout these system components, as mentioned before, closing them up again after the flow stops coming out accordingly. After opening them all at once, wait for about 10 seconds for it to resolve itself afterward with no misting or bubbling coming out afterward – only then move along further!
Disinfect the Tank
Once the tanks and pipes have been cleared of debris, they should be disinfected thoroughly to ensure there are no lingering contaminants in the drinking water. To do this, you will need unscented household bleach like chlorine. Start by filling up your tank with a mixture of water and bleach. The ratio should be a one-quarter cup of bleach for every 15 gallons of water in the tank. After that, turn on all taps connected to the tank and use a pump to circulate the mixture for about 5 minutes. Finally, let the mixture sit for 15 minutes before draining it out using a hose or bucket. Once it’s fully drained, rinse any remaining residue from inside and outside surfaces with clean water until no traces of chlorine are present. Now your RV’s fresh water tank is safe to use!
Rinse out Tank
Before you begin any cleaning regimen on your RV fresh water tank, it is essential to rinse out the tank thoroughly. Use a garden hose with a wide nozzle to put clean, fresh water through the tank. This will help remove all dirt, grime, and other debris that may have built up over time. The force of the water should be strong enough to move the debris away from surfaces but gentle enough not to cause any damage.
Adding a small amount of soap or organic cleaner can help loosen up stuck-on residue easier, although it is unnecessary for all cleaning jobs. Once finished rinsing out the tank, let it sit for an hour or two before beginning any deeper cleaning process.
Reinstall the Tank and Refill it with Clean Water

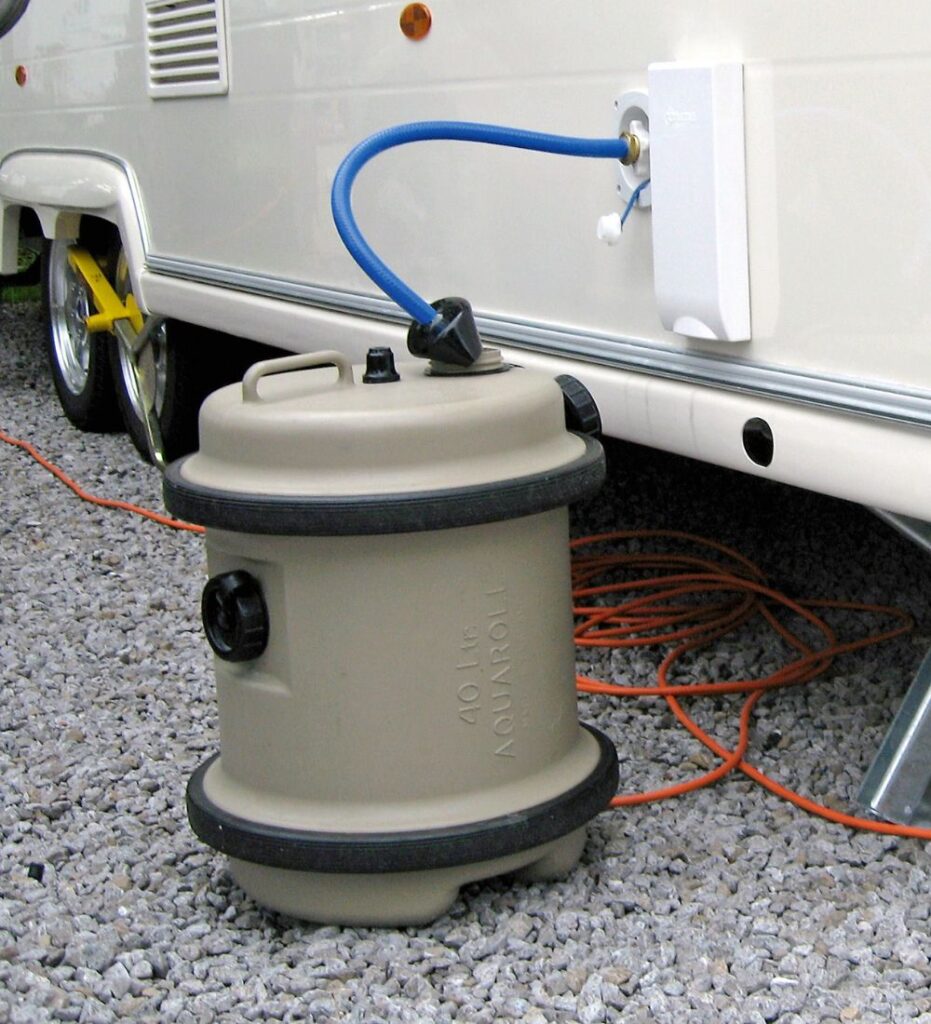
Once the tank is reinstalled and all pipes are firmly intact, it is time to refill it with the necessary clean water. When refilling your RV’s fresh water tank, it is important to remember only to use potable water that meets Environmental Protection Agency standards. Do not use lake, pond, or stream water as they contain bacteria that could potentially cause serious health problems. It is always best to use a filtered drinking hose to ensure the highest water quality in your tank.
Once connected, slowly fill your RV’s fresh water tank until it reaches its normal capacity level or until the automatic shutoff valve automatically turns off the incoming fill source. Then turn on each of the faucets one by one and flush them out with fresh running water until any evidence of chlorine that may have been present during filling is gone and not detected in any of the fixtures on board your rig. This same procedure can also be used with hot and cold side showers and tub faucets if installed on board. Allowing these fixtures to run for several minutes will help ensure any potential chlorine build-up has been purged before using them for drinking, bathing, or preparing food dishes on board your rig.
Monitor Cleanliness Regularly

Monitoring the cleanliness of your RV fresh water tank is an important part of RV maintenance and safety. It is important to inspect regularly, clean, and service your tank to ensure there are no contaminants or build-up from hard water minerals, which can lead to health risks.
Here are some tips for monitoring the condition of your RV fresh-water tank:
-Inspect the interior for any build-up or discoloration that may indicate contamination.
-Check hoses and filters for signs of wear and tear.
-Regularly inspect any gauges that provide information on the health of the tank’s contents.
-Drain the tank completely once a year and dispose of the waste responsibly.
-Frequent flushing will help remove any sediment that has built up in the tank over time, as well as any contaminants such as chlorine or formaldehyde compounds.
-Finally, use solutions specifically designed for RV tanks and rinse thoroughly after each cleaning session.
How to Maintain a Clean RV Fresh Water Tank

Maintaining a clean RV fresh water tank is essential to ensuring safe and healthy drinking water while on the road. This can be achieved by regularly flushing the tank with fresh water and following a few simple steps to keep the inside of your tank free from debris, harmful bacteria, and other contaminants. Here are some tips for cleaning your RV’s fresh water tank:
1. Fill your fresh water tank with an RV-safe bleach solution (1/4 cup bleach per 15 gallons of tank capacity). Please leave it in for at least eight hours to allow the chlorine in the bleach to work on killing any existing bacterial growth.
2. Once the solution has been left in for eight hours, drain it from your RV’s fresh water tank. Make sure you flush your tanks thoroughly both before and after use to ensure that all residual bleach is eliminated.
3. After draining and flushing out any remaining bleach solution, rinse your tanks with clean water twice to ensure all traces of chlorine are gone before filling it again with drinking-quality tap or bottled tap water.
4. Check seals on fittings regularly to ensure they’re tight and free from leaks, which could lead to contamination in your fresh-water system over time due to cross-contamination from other sources, such as dirty laundry or raw materials sewage. Also, store hoses away from direct sunlight whenever possible. This can break down plastic material in hoses over time leading to potential contamination risks if not properly maintained or replaced regularly if signs of wear and tear are noted during regular inspection intervals.
These simple steps will help you keep a clean RV fresh-water system that provides healthy drinking water while on the road!
How often do you sanitize RV fresh-water tanks?
Maintaining a clean and healthy fresh water tank for your recreational vehicle is essential for the health and safety of your family. Regularly sanitizing RV fresh-water tanks is critical to eliminate dangerous bacteria before you fill them with drinking water. The frequency of cleaning and sanitizing your fresh water tank will depend on the nature of the use of your RV, as well as other factors such as where you store it and how often you’re filling it with NEW fresh water.
When deciding how often to sanitize RV fresh water tanks, start with the recommended guidelines provided by your RV manufacturer. Generally speaking, if a unit has been sitting idle for an extended period or if you have filled the tank with new fresh-water more than once in a particular period, then cleaning and sanitizing should be done more frequently than usual.
In most cases, an RVer should aim to sanitize their RV fresh water tanks at least twice per year (every six months). If used seasonally, then once every time the unit is taken out of storage would be ideal. Additionally, always make sure to follow sanitation instructions provided by the manufacturer or product directions on any chemical used for sanitization purposes. Lastly, consider the importance of visually inspecting the inside walls and floors of your storage area periodically throughout each season so problems like stagnant or standing water can be detected early on and addressed appropriately.
How do I clean my water tank without removing water?
Cleaning the fresh water tank in your RV without removing the water is possible if you use a special tank cleaning solution. Depending on how long it has been since you cleaned the tank and if any odors are present, you may need to clean it more than once.
First, fill your water tank with a mixture of 1/4 cup of household bleach or biodegradable chlorine per gallon of capacity. This will help disinfect the interior of the tank. You should also add about 1/2 cup of vinegar or citric acid for every 10 gallons of capacity to help cut down on minerals and odors from forming in your tanks. After completing these steps, let the mixture sit for at least 8 hours so that it can do its job.
Once this time has passed, please turn off all water sources and run a fresh-water hose into your fresh-water tank to refill it with fresh water only until about half full. Then run some regular tap water through your RV’s faucets and toilets until you can no longer smell chlorine coming from them. After this is done, open up all other downstream appliances, such as RV heaters and hot tubs, to get rid of any remaining chlorine in them as well.
Finally, empty out your gray waste tanks so that they are only half full, and then turn on all outlets connected to them so the chamber can empty completely. After this is done, fill up both tanks with clean water, so they are close to their maximum level again, and rinse out any remaining residual bleach odor before using them again.
Conclusion: Enjoy Clean, Fresh Water!
By maintaining your RV fresh-water tank on a regular basis and utilizing safe-cleaning products, you can ensure that the water coming out of the tap is safe and odor-free. Regular monitoring and maintenance of your fresh-water tank will help extend its life and prevent you from prematurely replacing it. By taking these basic steps, you can enjoy clean, fresh water every time you turn on your faucet or take a shower—giving you one less thing to worry about while traveling in your RV.

